For integrating Authgear’s web SDK, we will create our web application using the React.js library for JavaScript.
React.js (or React) is a declarative and component-based JavaScript library for building user interfaces for Single Page Applications (SPAs).
Setup Authgear for React
We will be using Authgear’s web SDK in our React app. For this, first, we need to do a bit of setup.
Step 1: Signup for the Authgear Portal account
Visit https://portal.authgear.com/ and create a new account (or login into an existing one).
After you’ve created your Authgear account, you will be prompted to create a new project.
Step 2: Create and configure your project
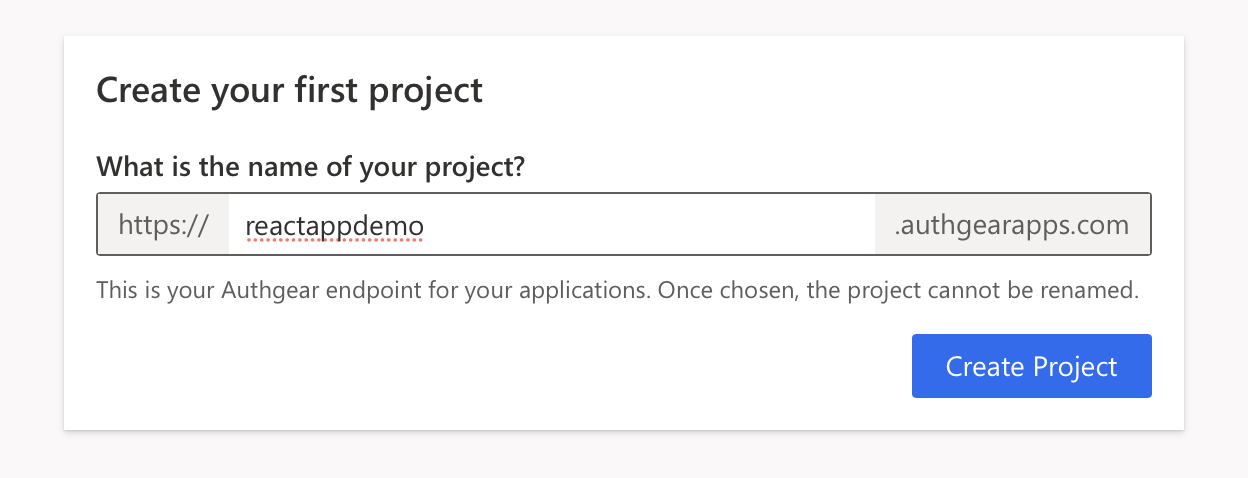
You should see the following right now:
Create project dialog box

You can name it anything you like, but you won’t be able to change it later. This is your Authgear endpoint so choose wisely. Here, we call it ‘reactappdemo’.
Now we configure the project in the next three steps. Here, we choose the following settings:
- Email and password
- Users can enable 2FA optionally
- TOTP Devices/Apps
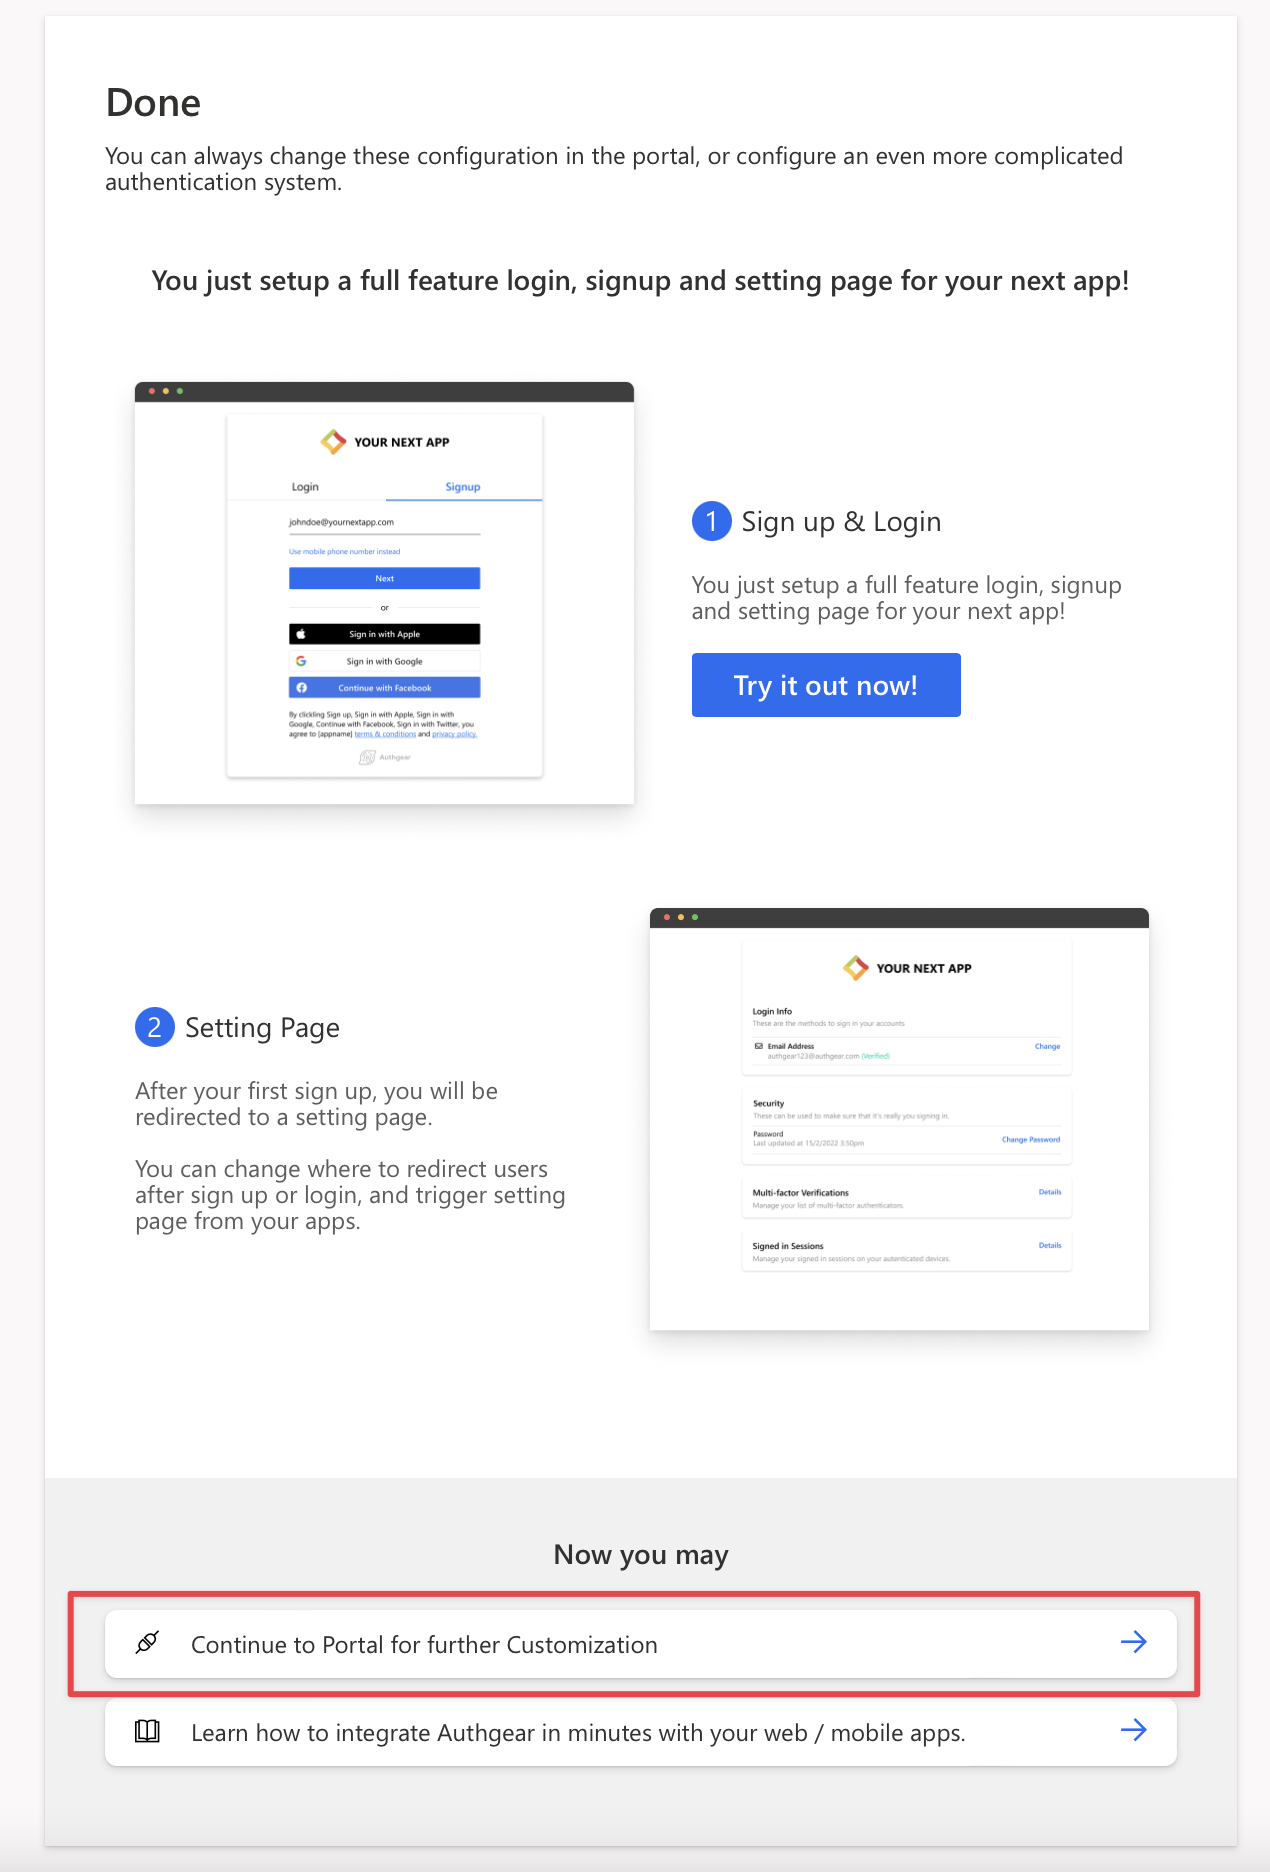
After you choose your required settings, you will be greeted with the following:
Project creation finished interface

Now, you can click on “Continue to Portal for further Customisation”.
Step 3: Create an application
After creating the project, we will create an application. Make sure you’re on your project, and then:
- Go to the ‘Applications’ option in the sidebar.
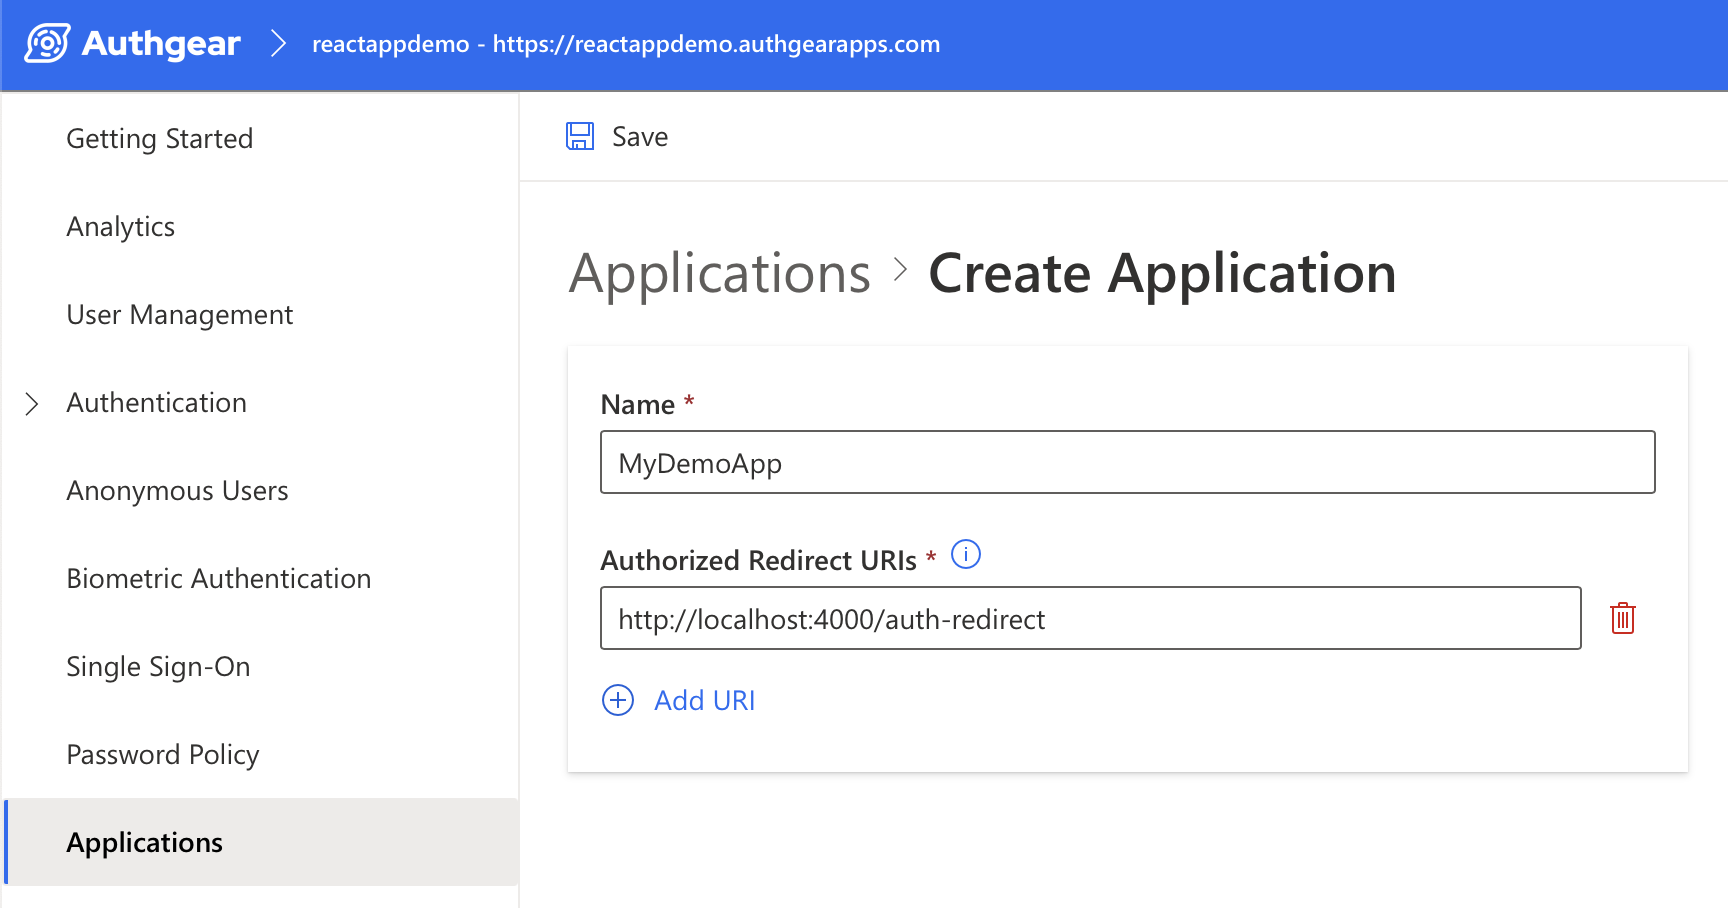
- Click ‘Add Application’ and input the name you want to give:
Create application interface in the Portal

As you can see here, we also give it an “Authorized Redirect URI.” Users will be redirected to this path after they get authenticated. Typically, when we are in the development phase, we can give it http://localhost:4000/auth-redirect as URI for local development.
- Click the ‘Save’ button in the top toolbar, and you will be greeted with a popup containing the ‘Client ID’ copy it to your clipboard or save it somewhere.
Step 4: Configure the application
While on your app’s ‘Edit Application’ section, check the ‘Issue JWT as access token’ checkbox under the ‘Token Settings’ section. This enables to use JWT as an access token and allows easier access token decoding. But if you will forward incoming requests to Authgear Resolver Endpoint for authentication, leave this unchecked.
Step 5: Add your website to allowed origins
We need our website origin to communicate with Authgear. For this:
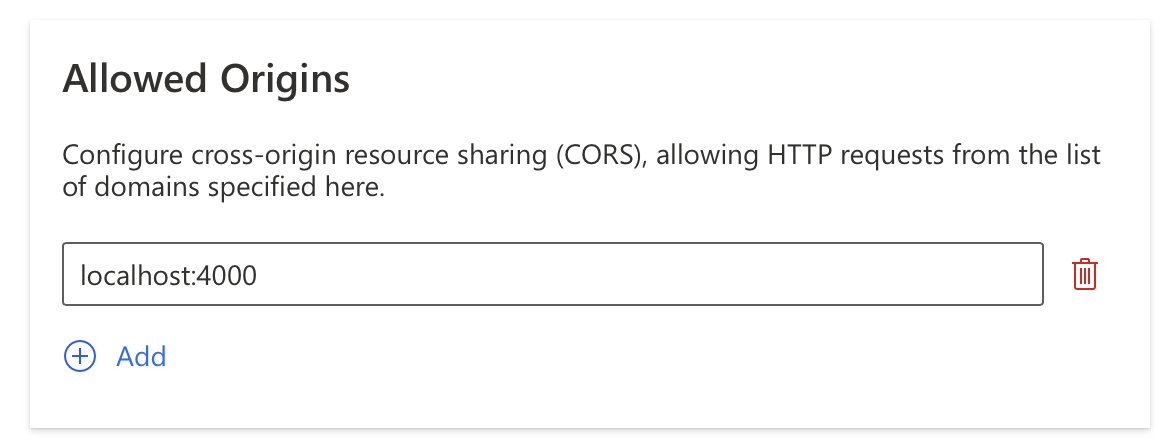
- Go to the ‘Applications’ > ‘Allowed Origins’ section.
- Add your website origin URL here. If your app is already deployed, then it should be like yourdomain.com; else, use localhost:4000 for local development.
- Click ‘Save’.
You should have this by now:

With this, we are all ready to start some coding!
Leave a Reply