Step-1: Install Ruby
For Windows the best place to install Ruby is http://rubyinstaller.org/downloads/. Go to that site and install the latest 32-bit version of Ruby, when I am writing this article latest version was Ruby 2.2.4. You can go with the latest version when you are reading this article.
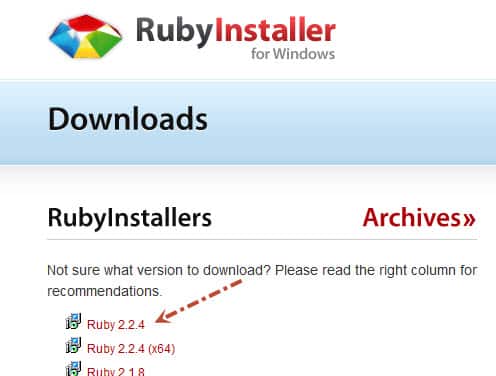
Note: The 64-bit versions of Ruby are relatively new in the Windows area and not all the packages have been updated to be compatible with it.
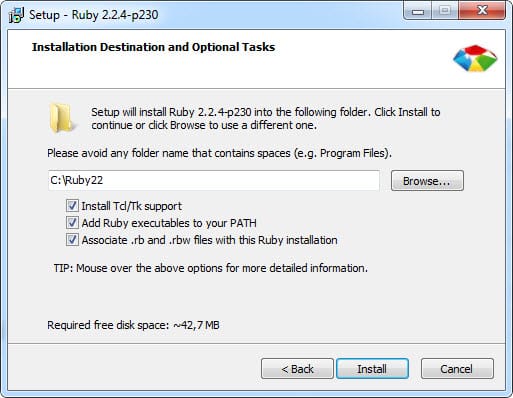
In this post, I will go with Ruby 2.2.4 version when you read this article, you can use the latest version and I selected the below options during installation. Make sure you check the option to “Add Ruby executables to your PATH.”
Check Ruby installation with ruby -v command. You will see the Ruby version as shown below.

Check RubyGems installation by running gem -v on a command line. RubyGems is the package manager for Ruby and should come with the standard Ruby installation.

Step-2: Install Ruby Development Kit
Download Ruby Development Kit on the same page. It will allow Ruby to build native extensions for libraries. In 2021, ruby and devkit bundled and you can install them together. 🙂
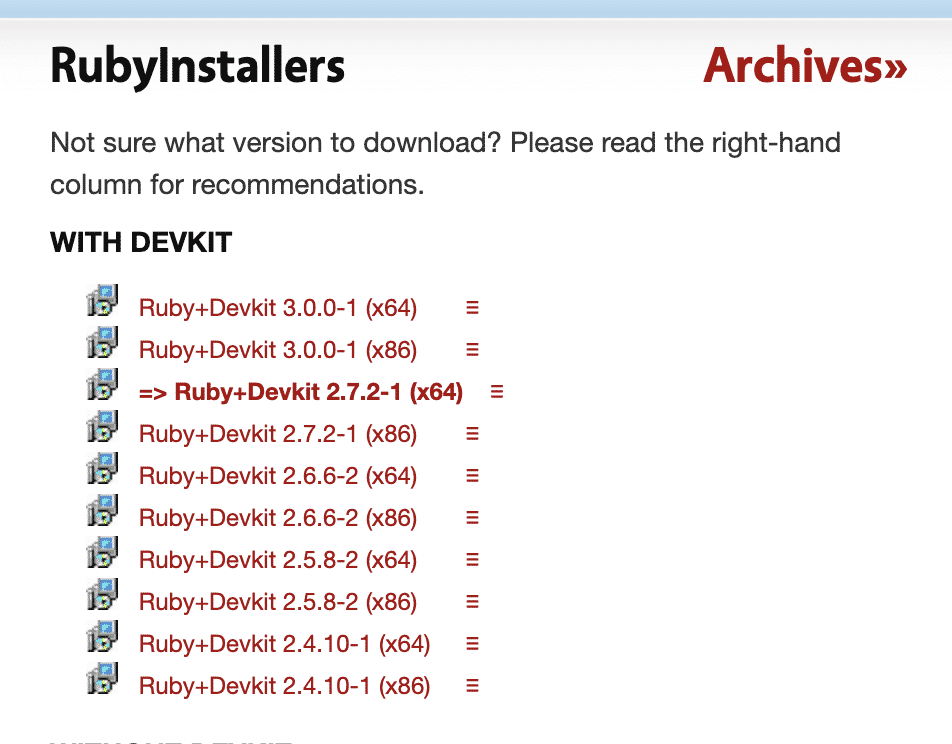
Or you can continue the standalone installation. By clicking the archives link on the installation page.
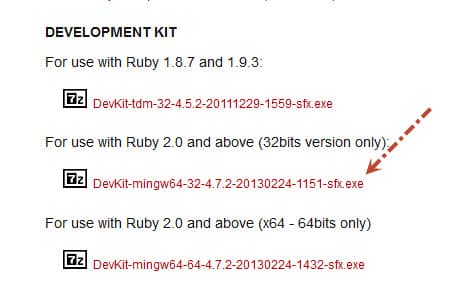
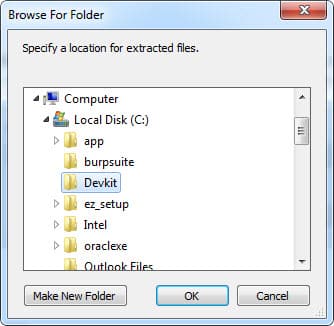
Extract it into C:/DevKit folder.
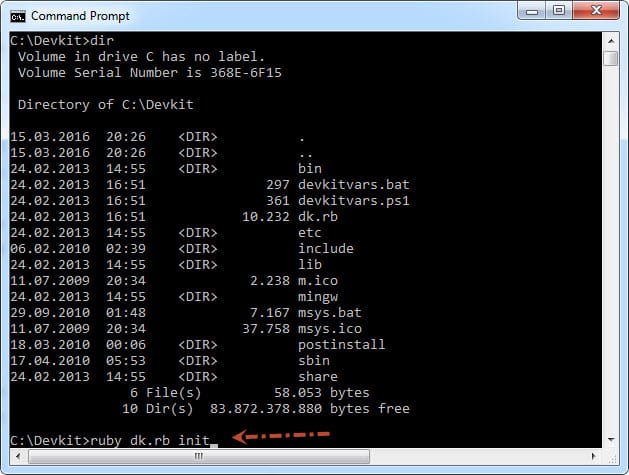
Open a command prompt and go to C:/DevKit folder and run ruby dk.rb init command to generate config.yml file to be used later.
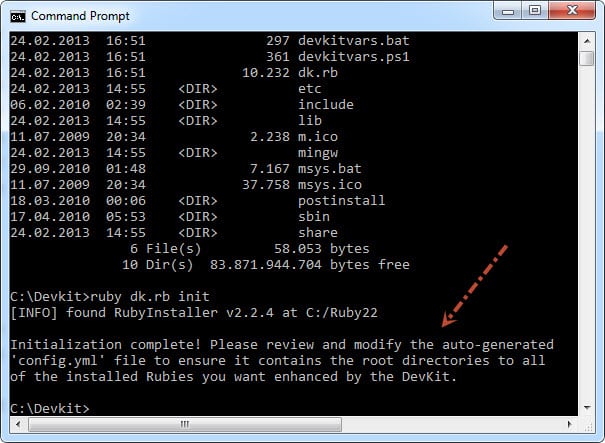
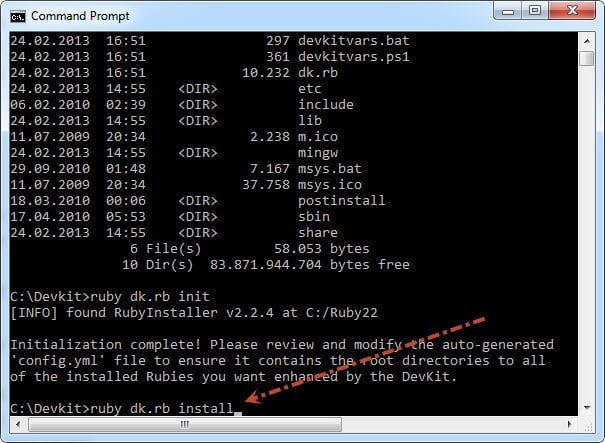
Run ruby dk.rb install This step installs (or updates) an operating_system.rb file into the relevant directory needed to implement a RubyGems pre_install hook and a devkit.rb helper library file into <RUBY_INSTALL_DIR>\lib\ruby\site_ruby.
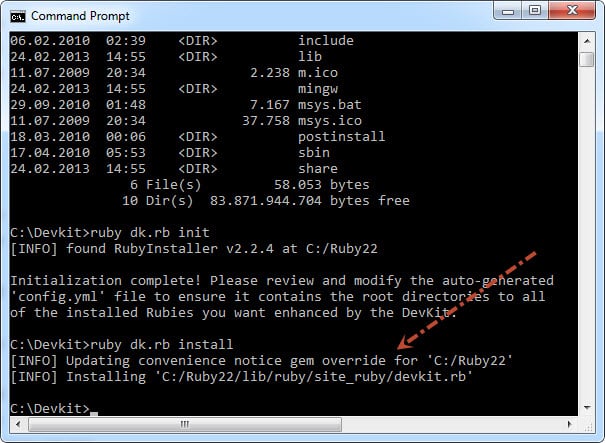
In order to test your installation, run the below command.
gem install json –platform=ruby
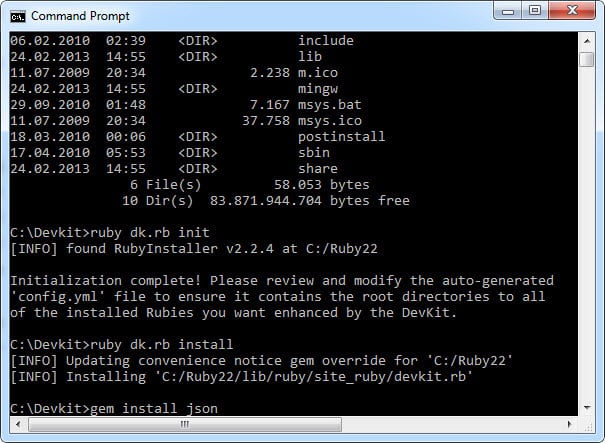
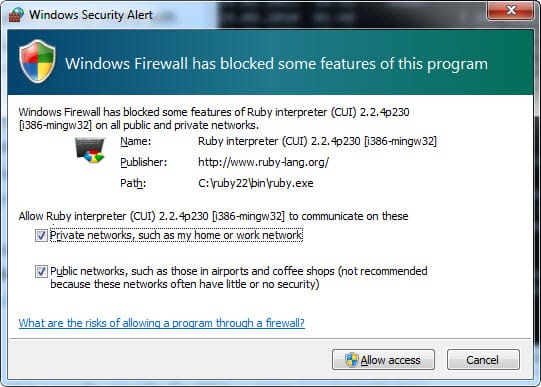
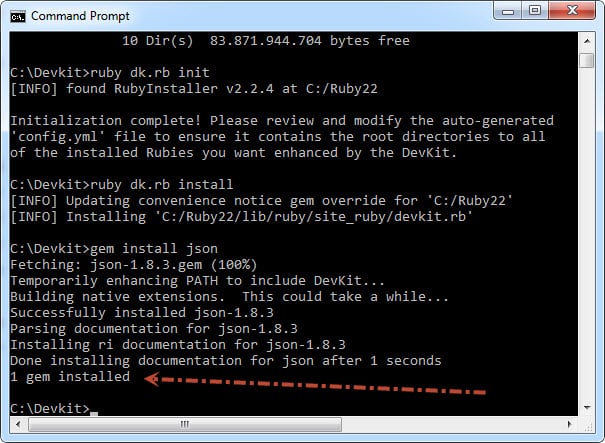
If JSON is installed correctly, you should see the below screen.
Step-3: Install Cucumber
Run gem install cucumber command to download and install Cucumber automatically. After installation, run cucumber –help command to confirm that installation is successful.


Step-4: Install Capybara
Run gem install capybara to download and install the Capybara web automation library.

Step-5: Install Selenium Webdriver
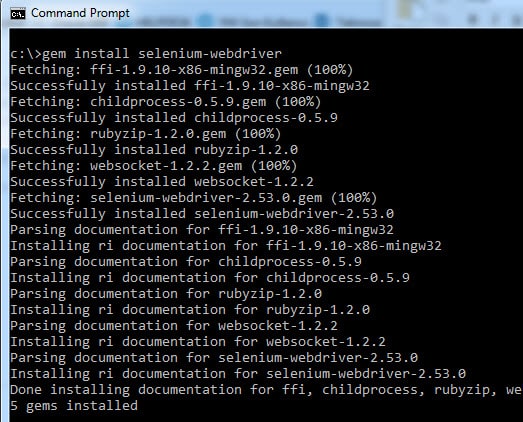
Run gem install selenium-webdriver to download and install the Selenium web automation framework.
Step-6: Install RSpec
Run gem install rspec to download and install RSpec. It is an extensive library for assertions. (By the way, there is a very nice tutorial at codeschool.com, its name is “Testing with RSpec”. I suggest you check that course.)

Step-7: Install Ansicon (Optional)
If you want to colorize the command prompt when running cucumber features, you need to install ANSICON because Windows does not understand ANSI color escape sequences.
- In order to download the latest release of ANSICON, go to https://github.com/adoxa/ansicon/downloads.
- Create C:\Ansicon directory and Unzip the download file into it.
- Open a command prompt and navigate to C:\Ansicon folder.
- Navigate to X64 folder if your machine is 64bit otherwise go to X86 folder.
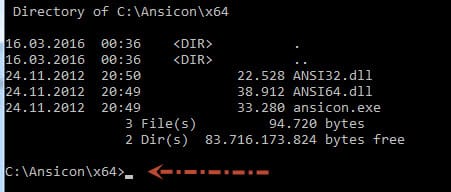
- Execute “ansicon.exe -i” to install and add ANSICON to your Windows.

Leave a Reply