Watir offer easy to use syntax to work with iframes.
Syntax
browser.iframe(id: ‘myiframe’) // will get the reference of the iframe where we want to input details.
To understand how to deal with iframes and locate the elements inside an iframe, in this chapter, we will work on an example.
Example
main.html
<html> <head> <title>Testing using Watir</title> </head> <body> <iframe src = "test1.html" id = "myiframe" width = "500" height = "100"></iframe> </body> </html>test1.html
<html> <head> <title>Testing UI using Watir</title> </head> <body> <script type = "text/javascript"> function wsentered() { console.log("inside wsentered"); var firstname = document.getElementById("firstname"); if (firstname.value != "") { document.getElementById("displayfirstname").innerHTML = "The name entered is : " + firstname.value; document.getElementById("displayfirstname").style.display = ""; } } </script> <div id = "divfirstname"> Enter First Name : <input type = "text" id = "firstname" name = "firstname" onchange = "wsentered()" /> </div> <br/> <br/> <div style = "display:none;" id = "displayfirstname"></div> </body> </html>Output

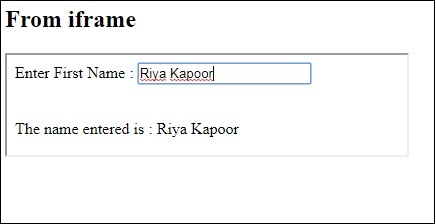
In the above example, the entry form is defined inside an iframe. The Watir code which will help us to locate it and test the form is given below −
Watir Code
require 'watir' b = Watir::Browser.new :chrome b.goto('http://localhost/uitesting/main.html') t = b.iframe(id: 'myiframe').text_field t.set 'Riya Kapoor' b.screenshot.save 'iframetestbefore.png' t.fire_event('onchange') b.screenshot.save 'iframetestafter.png'Watir code to locate the iframe in the url given here −t = b.iframe(id: 'myiframe').text_fieldWe have used the tag name iframe and the id of the iframe as shown above.
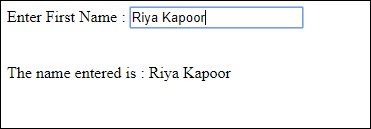
The screenshots of the above code are shown below −
iframetestbefore.png

iframetestafter.png

Leave a Reply